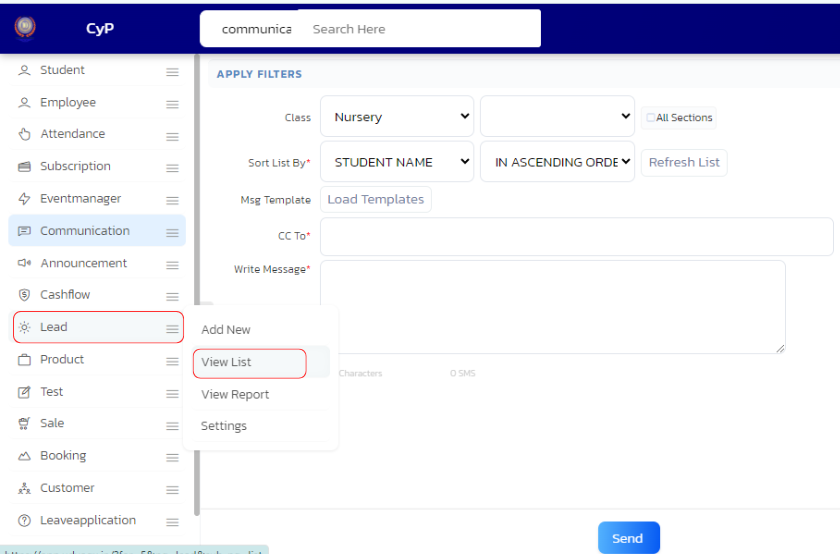
Follow these steps to Add New Lead Follow up in UdyogX.
Stepwise Instructions #
- Log into the software.
- Hover on “Lead ” module visible on the left sidebar menu.
- Click on “View List” submenu that appears.

- In the list Entry Table, find the Lead name, and hover on the arrow located at right side of the lead.
- Click on “Followup” submenu that appears.

- In the form that appears, fill the necessary details like “Progress”, “Activity”, “Expectation”, Add “Remark” if any, “Status”, select date for “Next Contact On”.
- Click on ‘Save’ button at the bottom.

- A confirmation box will appear when the details are saved successfully.
By following these steps, you will successfully add a new lead follow up in the Lead module.
Video Guide #


